Replacing the voice coil of a speaker is a delicate task that requires a certain level of hands-on ability and patience.
preparation
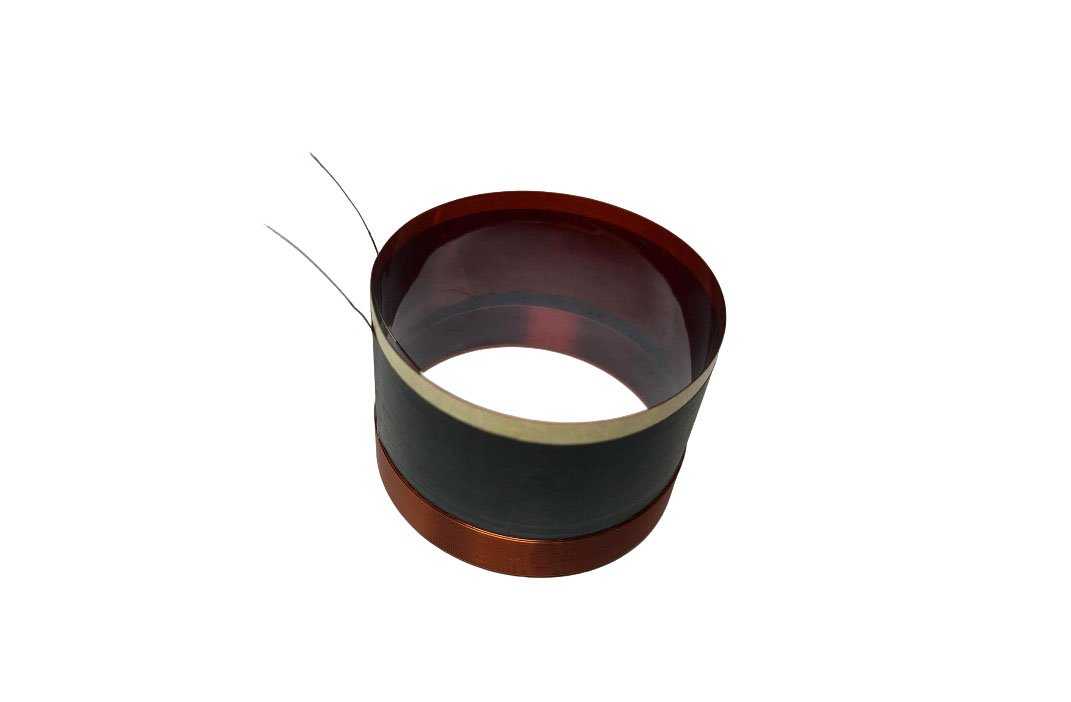
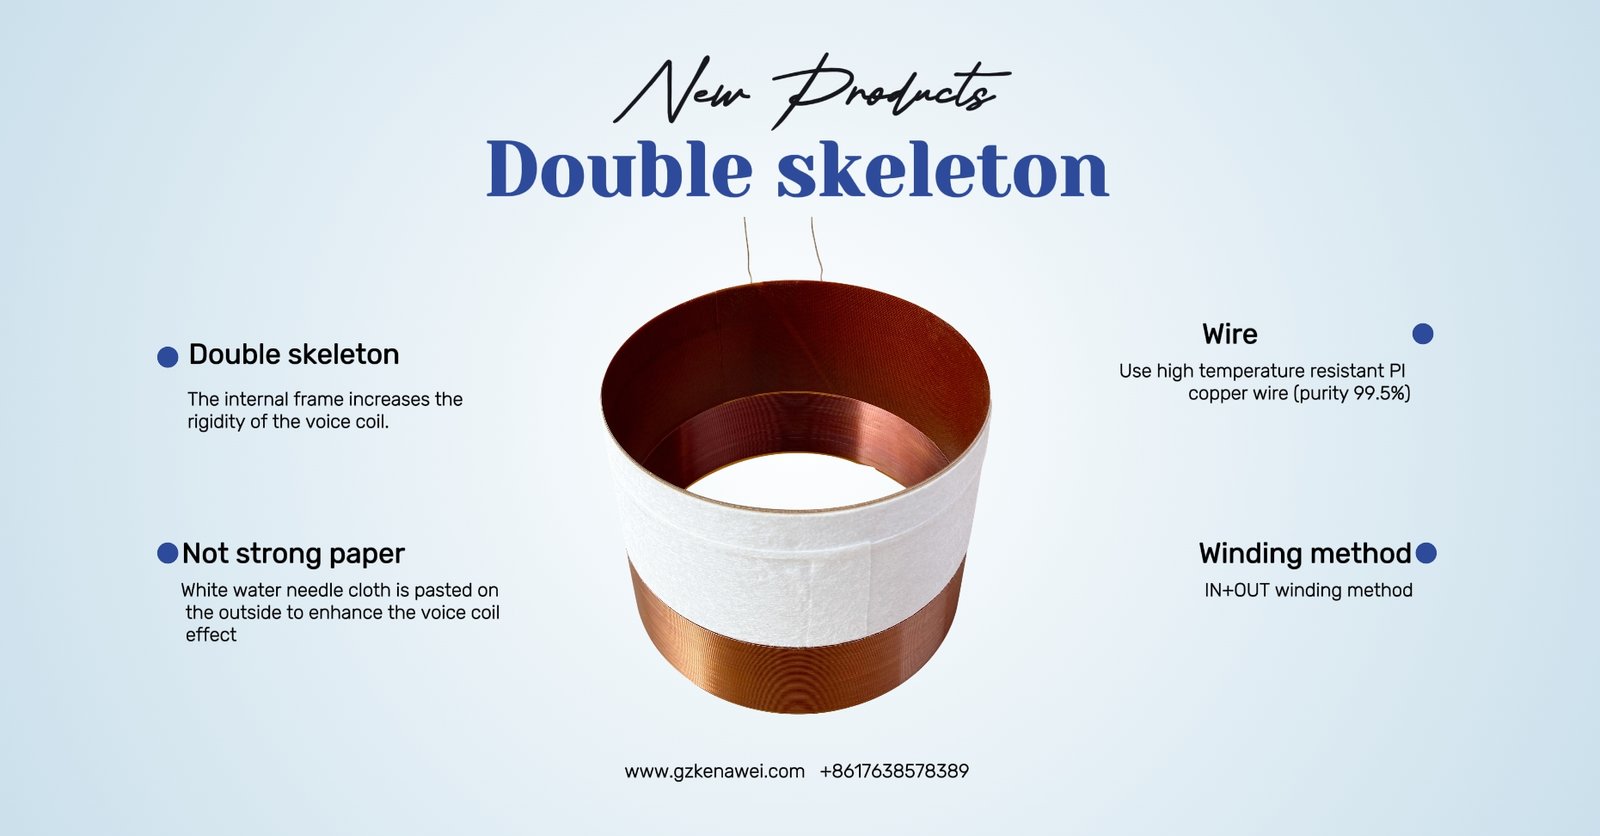
New voice coil: Ensure that the size, impedance, power, and other parameters of the purchased voice coil are completely consistent with those of the original voice coil.
Tools: small knife blades, tweezers, tweezers, soldering iron, soldering iron, glue (AB glue or special horn glue), vacuum cleaner, thin paper blades, hair dryer.
Operation steps
Remove the dust cap:
Use a small knife to gently cut a small opening along the seam between the dust cap and the paper basin, then slowly tear it open by hand, being careful not to damage the paper basin.
Remove the old voice coil:
Carefully remove the old voice coil with tweezers.
Scrape off the old glue with a blade until the aperture can accommodate the new voice coil.
Thoroughly clean any remaining glue and debris with a vacuum cleaner.
Install a new voice coil:
Place the new voice coil into the hole and position it in the appropriate position with a thin piece of paper.
Generally speaking, 80% to 90% of the total height of enameled wire is below the magnetic core.
Carefully solder the leads of the new voice coil with an electric soldering iron.
Fixed voice coil:
Apply glue evenly at the connection between the voice coil and the paper tray.
Heat with a hair dryer for 15-20 minutes to allow the adhesive to solidify initially.
Check if there is any delamination at the junction between the support piece and the paper basin. If there is delamination, apply adhesive again.
restore:
After the glue is completely dry, remove the positioning paper.
Test the sound and confirm that it is normal.
Stick the dust cap on and wait for the glue to completely dry before completing.


