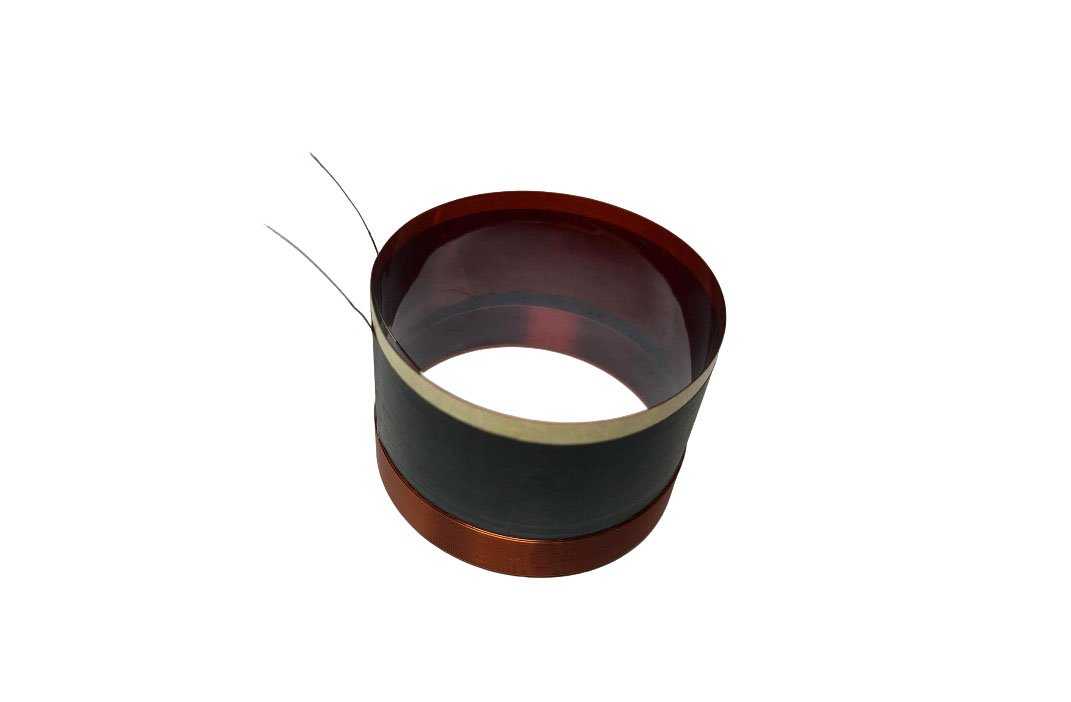
Detailed steps for replacing the voice coil of the speaker - Voice coil manufacturing factory

Detailed steps for replacing the voice coil of the speaker

Replacing the voice coil of a speaker is a delicate task that requires a certain level of hands-on ability and patience.
preparation
New voice coil: Ensure that the size, impedance, power, and other parameters of the purchased voice coil are completely consistent with those of the original voice coil.
Tools: small knife blades, tweezers, tweezers, soldering iron, soldering iron, glue (AB glue or special horn glue), vacuum cleaner, thin paper blades, hair dryer.
Operation steps
Remove the dust cap:
Use a small knife to gently cut a small opening along the seam between the dust cap and the paper basin, then slowly tear it open by hand, being careful not to damage the paper basin.
Remove the old voice coil:
Carefully remove the old voice coil with tweezers.
Scrape off the old glue with a blade until the aperture can accommodate the new voice coil.
Thoroughly clean any remaining glue and debris with a vacuum cleaner.
Install a new voice coil:
Place the new voice coil into the hole and position it in the appropriate position with a thin piece of paper.
Generally speaking, 80% to 90% of the total height of enameled wire is below the magnetic core.
Carefully solder the leads of the new voice coil with an electric soldering iron.
Fixed voice coil:
Apply glue evenly at the connection between the voice coil and the paper tray.
Heat with a hair dryer for 15-20 minutes to allow the adhesive to solidify initially.
Check if there is any delamination at the junction between the support piece and the paper basin. If there is delamination, apply adhesive again.
restore:
After the glue is completely dry, remove the positioning paper.
Test the sound and confirm that it is normal.
Stick the dust cap on and wait for the glue to completely dry before completing.

Latest News & Article

An inner-outer voice coil is a special voice coil structure wound alternately to enhance performance. It improves heat dissipation, reduces short circuit risks, and enhances high-frequency response. A 4-inch type is common for mid-low frequency units and offers excellent sound quality, power handling, and longevity. Key considerations include impedance, power, sensitivity, and frequency response.

What is a subwoofer?A subwoofer, as the name suggests, is a speaker device specifically designed to reproduce low-frequency sound. It can bring us stunning bass

1 inch speaker voice coil

Replacing a speaker’s voice coil requires precise hands-on skills and patience. Key steps include matching the new voice coil’s specifications with the original, carefully removing the dust cap and old coil, cleaning debris, installing and positioning the new coil, soldering, applying glue, and testing the sound. Ensure adhesive is fully dried before completion.

KSV Voice Coil

This 3-inch 75.5mm car subwoofer voice coil features high-temperature resistant PI wire, ASV skeleton, and high-temperature resistant glue for enhanced firmness. It has high power tolerance due to its 4-layer coils, improved sound quality, and reliability from reinforced materials, and flexible connection options with a 4L output line.